DIY Steps for Building Your Backyard Putting Green
September 8, 2025
In recent years, building a backyard putting green has become increasingly popular among golf lovers and homeowners. It provides a convenient and enjoyable space to practice your golf skills while spending quality time outdoors.
If you’re a seasoned golfer aiming to sharpen your short game or a beginner wanting to play comfortably at home, a backyard putting green is an excellent addition. Beyond practice, it also adds a touch of elegance and charm to your property, enhancing its overall appeal.
In this guide, we’ll guide you through the key steps to create your own putting green, from initial planning and design to installation and upkeep.
Key Takeaways
Building a backyard putting green offers convenience, cost savings, and a great way to improve your golf skills at home.
Proper site preparation, including leveling the ground and laying a stable base, is essential for a smooth, durable green.
Maintaining your putting green involves regular cleaning, turf brushing, and checking drainage to ensure it remains in top condition.
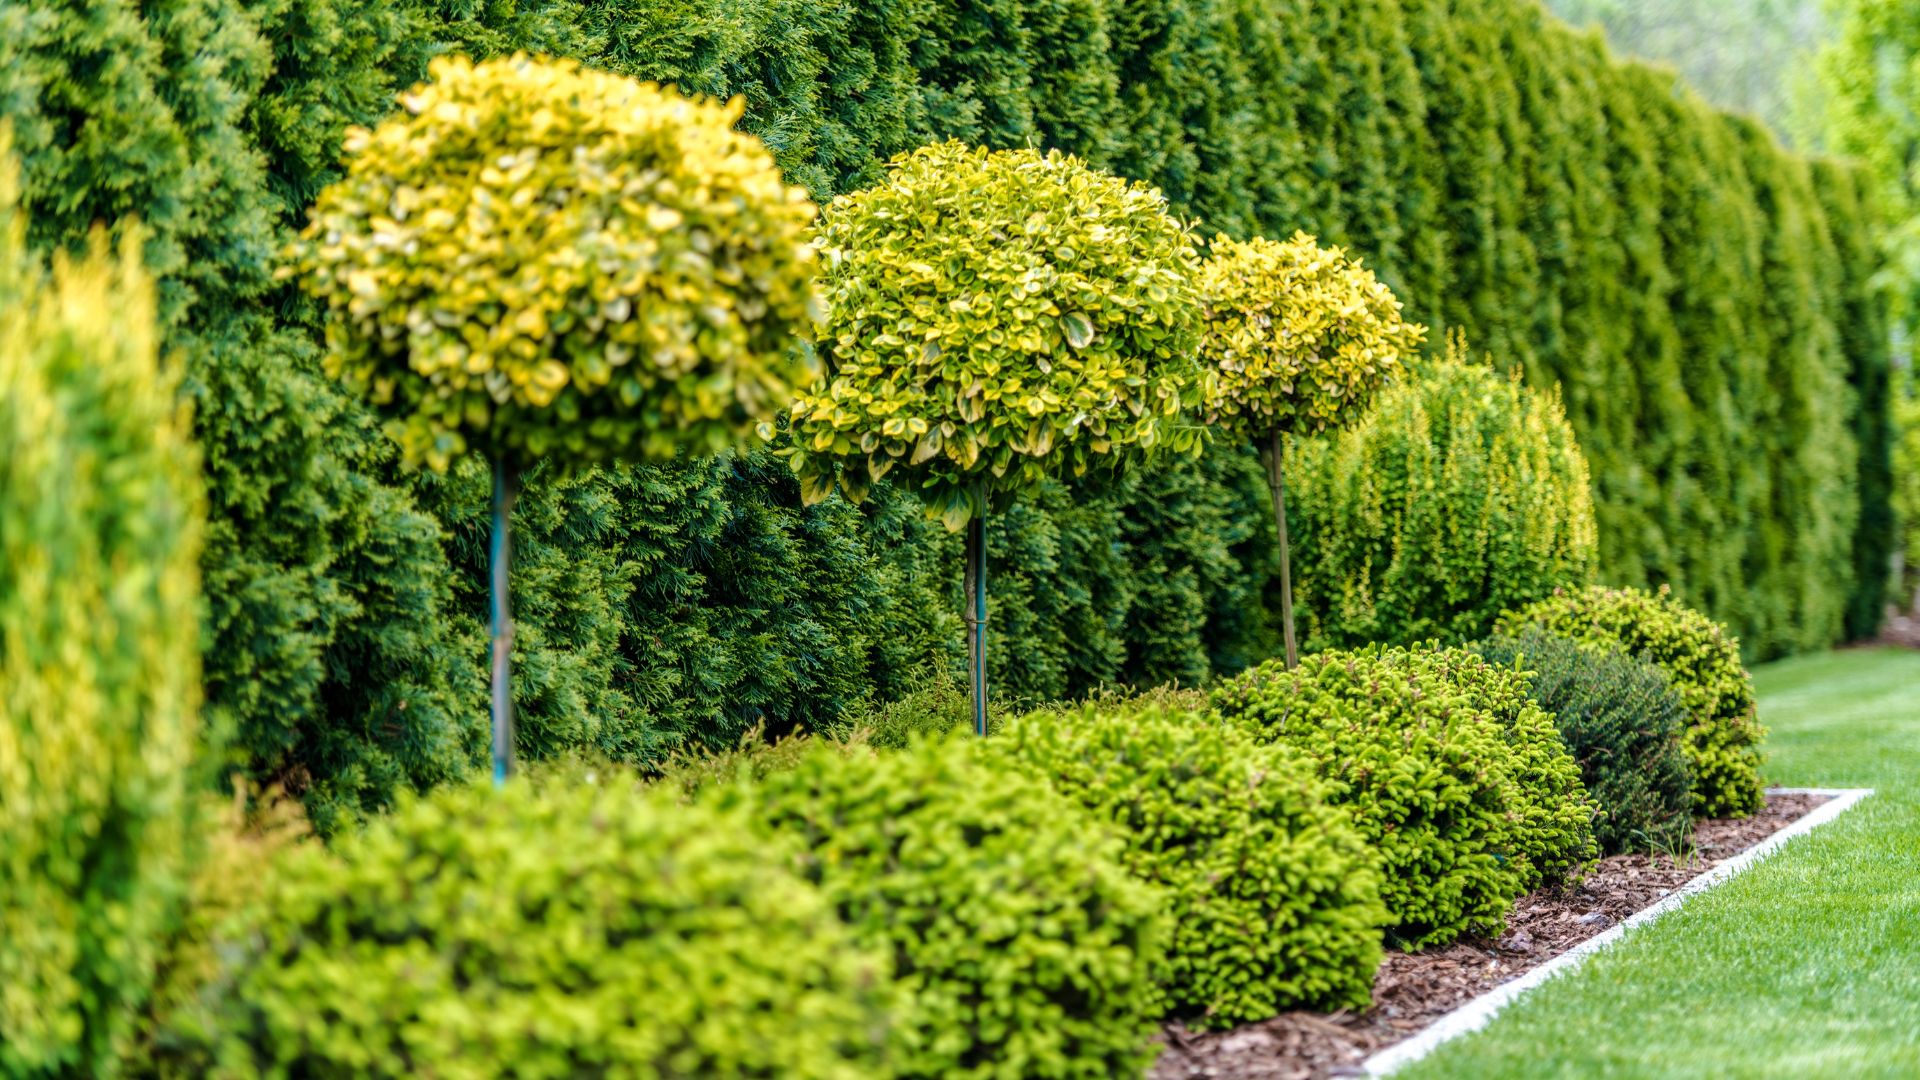
Adding edging and landscaping elements enhances the aesthetic appeal of your putting green and keeps the turf in place.
Professional help can ensure proper installation and maintenance, especially for drainage issues and high-quality turf laying.
Why Build a Backyard Putting Green?
Building a backyard putting green is an investment that offers a wide range of benefits for golf lovers. Not only does it enhance your lifestyle, but it also provides long-term value for your home.
Below are some of the key reasons why creating a backyard putting green is a great idea.
Convenience: You can practice at home, whenever you want, without having to leave the house or pay for green fees.
Cost-effective: Skip the expensive fees at golf courses and enjoy unlimited practice sessions right in your yard.
Fun and Relaxation: It’s an ideal activity for family gatherings, friends, or even hosting golf-themed parties.
Increased Property Value: A putting green can make your home more attractive to buyers, adding a unique feature that enhances its overall value.
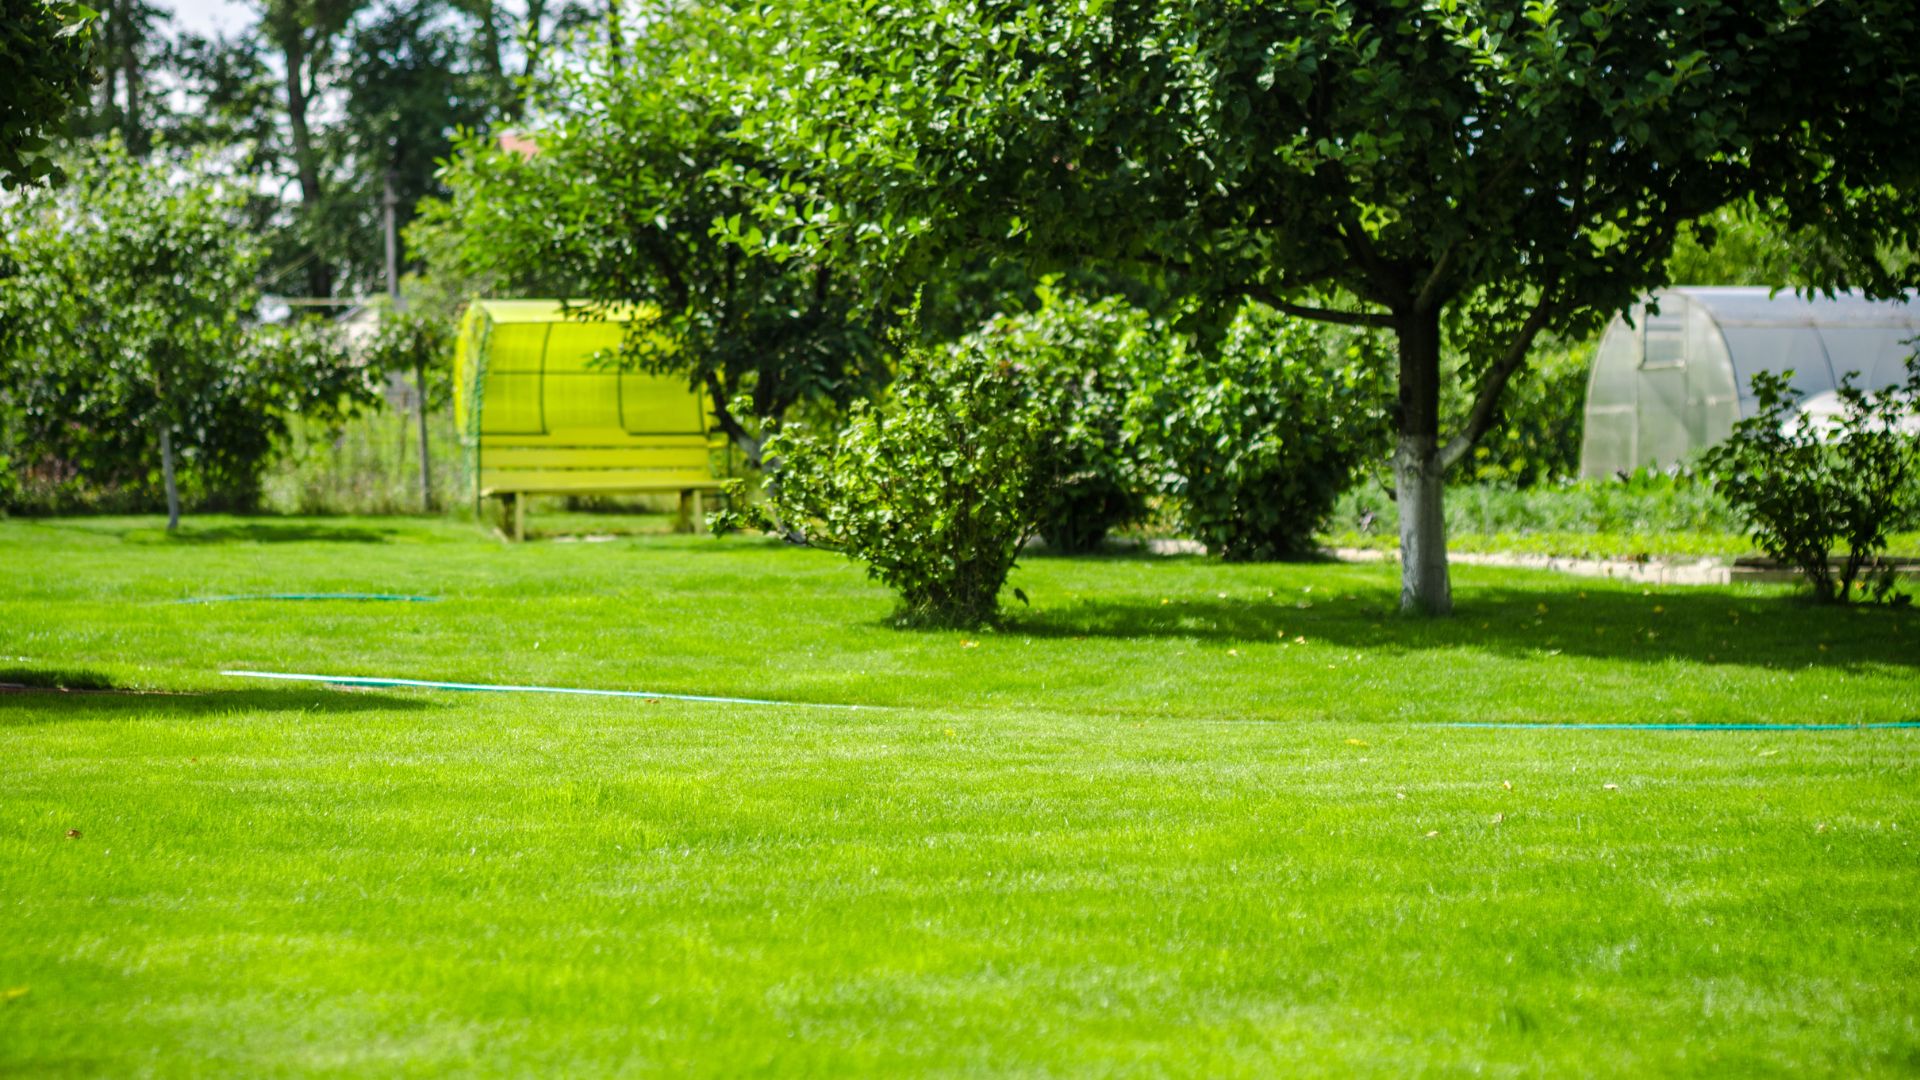
Creating and maintaining a beautiful outdoor space requires consistent care and attention. From tending to flower beds, lawns, or special features like a putting green, following practical tips willkeep your garden healthy and inviting all year long.
Planning Your Backyard Putting Green
Planning is the key to creating a successful backyard putting green that will serve both your needs and your space.
Here are some important considerations to keep in mind when planning your putting green project.
Choosing the Right Location: Select a flat, level space in your yard that receives ample sunlight. Avoid areas that are prone to shade from trees or buildings, as these may hinder the growth of natural grass or affect the durability of artificial turf.
Sizing the Green: Measure the available space and determine the size based on your skill level and the type of practice you’d like to do. For beginners, a smaller green might be perfect, while advanced golfers may prefer a larger area with more holes and obstacles.
Designing Your Green: Decide on the shape of the green, whether it’s circular, oval, or rectangular, and include elements like obstacles or contours to add challenge and variety to your practice.
Choosing Materials: Decide whether you want to use natural grass or synthetic turf. Both options have their pros and cons, and you’ll need to consider drainage, upkeep, and the visual appeal of the materials you choose.
Tools and Materials Needed for Your DIY Putting Green
Building a backyard putting green requires some essential tools and materials to ensure the project is done right. From preparing the site to laying down the turf, each step involves specific tools to achieve a professional-quality result. Understanding what you'll need before getting started will help make the process more efficient and reduce any potential setbacks.
With that in mind, here’s a breakdown of the essential tools and materials you'll need for a successful DIY putting green project:
Tools:
Shovels and Rakes: To clear and level the area, removing any existing grass or debris.
Measuring Tape: To ensure precise measurements for size and layout.
Level: Used to check that the base is even, ensuring smooth turf installation.
Utility Knife: For cutting and trimming turf to fit the desired shape of your green.
Materials:
Base Material: Sand or crushed stone forms a solid, well-draining foundation for your turf.
Turf or Grass: Choose between artificial turf (low maintenance and durable) or natural grass (requires more care).
Edging Materials: Bricks, wood, or plastic are ideal for creating clean borders around the putting green and preventing the turf from shifting.
Nails, Glue, or Adhesive: For securing the turf to the base and keeping it in place.
Creating your backyard putting green can be a fun and satisfying project, though it does take some planning and care. If you’re aiming to make a small, simple green or a more elaborate course, following a step-by-step process will help ensure a smooth and successful build.
Step 1: Preparing the Site
The first step in building your backyard putting green is preparing the site. This involves clearing the area, marking the layout, and making sure the ground is level.
Clear the Area: Begin by removing any grass, rocks, and debris. This will give you a clean slate, allowing the base material to settle properly without any obstruction.
Mark the Layout: Using a measuring tape and stakes, outline the shape and size of your putting green. This step ensures your design will be precise and aligned with your plans.
Excavate the Ground: Depending on the size and level of your area, you may need to dig out some soil to create a flat, stable base. Aim for a depth of about 2-4 inches for the base material.
Once this is done, you’re ready for the next step.
Step 2: Creating the Base Layer
Now that the site is prepped, it’s time to lay down the foundation that will support your turf. This base layer is crucial for the durability and smoothness of your putting green.
Add Base Material: Spread a layer of crushed stone or gravel (about 2 inches thick) to create a stable foundation. This helps with drainage, preventing water from pooling under your green.
Level the Surface: Use a rake and level to smooth the surface. A perfectly flat base will help ensure that the turf lies evenly, and the ball rolls smoothly.
Compact the Base: Once the surface is level, use a compactor to tamp down the base material gently. This step ensures it’s firm and stable for the turf.
Now your base is ready to support the turf, and it’s time to move to the next step.
Step 3: Installing the Landscaping Fabric (Optional)
While optional, using landscaping fabric is a great way to ensure your green stays weed-free and keeps its shape over time.
Weed Prevention: Lay a layer of landscaping fabric over the base material. This will help prevent weeds from sprouting through the turf and keep your green looking pristine.
Smooth Out the Fabric: Ensure the fabric is spread out smoothly without wrinkles or folds. This will ensure an even surface when the turf is laid on top.
This step is beneficial if you’re using natural grass. Now you’re ready for the next stage.
Step 4: Rolling Out the Turf
With the base and fabric in place, it's time to lay the turf. This step will give your putting green its signature look and feel.
Unroll the Turf: Begin at one edge of your green and slowly unroll the turf over the base material. Be sure to unroll it carefully to avoid wrinkles or creases.
Trim the Edges: Use a utility knife to trim any excess turf along the edges, making sure it fits neatly into the layout.
Align and Secure: Pull the turf tightly to ensure it’s smooth. Use adhesive or nails to secure the edges in place, making sure the turf is taut and wrinkle-free.
At this point, you’ll begin to see the shape of your putting green come together.
Step 5: Setting the Holes and Flags
Next, it’s time to add the finishing touches that make your putting green feel like a real course, holes and flags.
Mark the Hole Locations: Decide where to place your holes, taking into account how you want the layout to flow.
Dig Holes for the Cups: Dig small holes at each marked spot, ensuring they are deep enough to hold the cups securely.
Insert the Cups: Place the cups into the holes, securing them firmly. You can add sand or gravel at the bottom for drainage.
Set the Flags: Insert the flags into the cups to complete the look. This adds an authentic touch and makes the green ready for use.
Your putting green is starting to take shape!
Step 6: Adding Edging
Edging is a great way to give your putting green a clean, professional finish, while also keeping the turf in place.
Install the Edging: Use materials like wood, brick, or plastic to install edging around the perimeter of your putting green. This not only adds structure but also prevents the turf from shifting over time.
Secure the Edging: Nail, screw, or glue the edging in place to ensure it stays firmly in position.
With the edging in place, your putting green is beginning to look polished and ready to use.
Step 7: Final Touches and Maintenance
The last step is to make sure everything is appropriately set up and ready for regular use.
Fill the Green with Sand or Gravel: Add a thin layer of sand or gravel over the surface to ensure smoothness and proper ball speed.
Brush the Turf: Use a stiff brush to lift the fibers of the artificial turf, giving it a more natural appearance and helping it maintain its structure.
Test the Holes and Turf: Run a few test putts to make sure the holes are functional and the turf is level. Check that the ball rolls smoothly and doesn’t get stuck.
Now, you’re ready to start practicing your putting!
Maintaining Your Backyard Putting Green
Proper maintenance is key to ensuring your backyard putting green remains in top condition and provides a true-to-life golfing experience. While building your green is the first step, keeping it clean, level, and functional will allow you to enjoy it for years to come.
Here are some key maintenance tips to keep your putting green in excellent shape:
Cleaning the Green: Regularly remove leaves, dirt, and other debris from the surface using a leaf blower or broom. Keeping the surface clean ensures smooth play and prevents clogging the turf’s drainage system.
Shaping the Turf: Use a stiff brush to lift the fibers, especially in high-traffic areas. This helps maintain the natural look of the turf and ensures the ball rolls smoothly. Regular brushing will also prevent the fibers from flattening over time.
Drainage Check: Periodically check that there is no standing water in the cups or around the edges of the green. Proper drainage is crucial to prevent water from accumulating and affecting the turf’s stability.
Cup Adjustments: Move the cups around every so often to prevent wear in the same areas. This not only helps keep the green looking fresh but also adds variety to your practice by changing the hole locations.
By following these simple maintenance steps, you’ll keep your backyard putting green looking great and performing well for years to come.
For tips on keeping your backyard in great shape during the colder months, check out our detailed winter maintenance guide.
How Can Experts at PercyLawn Help You?
While building and maintaining your backyard putting green can be an exciting DIY project, sometimes it’s best to leave specific tasks to the professionals. If you're facing challenges like improper turf installation, drainage issues, or difficulty maintaining the green, the experts at PercyLawn can provide the support you need to create and preserve your perfect putting green.
Call us for:
Lawn and Turf Care: Ongoing maintenance services including turf brushing, shaping, and specialized drainage solutions to keep your green in prime condition.
Landscape Design: Custom landscape design to complement your putting green and integrate it seamlessly into your backyard.
Consultation and Planning: Free on-site consultations to assess your backyard space, offering personalized advice on the best materials and design for your green.
Seasonal Maintenance: Regular clean-ups, including debris removal, checking turf and cup functionality, and preparing your green for seasonal changes.
At PercyLawn, we treat your lawn and putting green with the utmost care, ensuring your outdoor space remains an ideal place for practice, relaxation, and enjoyment. We’re a team dedicated to turning your outdoor vision into a reality.
For expert help with building or maintaining your putting green, contact us today to ensure your green remains in perfect shape all year round.
FAQs
1. How long does it take to build a backyard putting green? Building a backyard putting green typically takes about 2-3 days, depending on the size and complexity of the design. Factors like weather, materials, and your level of experience can affect the timeline.
2. Can I build a putting green in a small backyard? Yes, you can build a putting green in a small backyard. Smaller greens are ideal for limited spaces and can still provide ample practice opportunities. The key is efficient design and layout.
3. Do I need to hire professionals to install artificial turf? While DIY installation is possible, hiring professionals ensures your turf is laid correctly, with proper drainage and a level base. Professional installation can also help avoid common mistakes, enhancing longevity and performance.
4. How do I keep the turf on my putting green from shifting? Securing the turf with adhesive, nails, or a proper edging material around the perimeter will prevent shifting. Additionally, ensure the base layer is compacted and level to keep the turf stable over time.
5. How often should I maintain my backyard putting green? Regular maintenance, such as cleaning debris, brushing the turf, and checking drainage, is essential. Perform these tasks every few weeks. For more in-depth maintenance, check drainage and cup placement every season to ensure optimal playability.