Clearing grass for a garden bed is the essential first step in creating a lush, healthy garden that will flourish for seasons to come. By removing the grass, you eliminate competition for precious resources like water, sunlight, and nutrients, giving your plants the best chance to grow. The right method can help you have a beautiful flower bed or a bountiful vegetable garden.
In this guide, we'll walk you through the most effective techniques, from hands-on manual removal to the sun-powered magic of solarization, ensuring your garden begins with a solid foundation for success.
Step 1: Assessing the Area
Before starting the removal process, it's important to assess the area to ensure that you choose the best method based on the size and condition of your garden.
Determine the size of the garden bed: Evaluate the area you plan to clear. For smaller beds, manual removal may suffice, but for larger plots, methods like sod cutting or solarization may be more effective.
Evaluate the type of grass and soil condition: Different grass types may require different approaches. Consider the grass's root system and soil quality. Hardier grasses may require more effort, while soil type (clay, sandy, etc.) may affect how easily you can remove the grass.
Identify any obstacles or structures: Check for obstacles such as existing plants, rocks, or garden structures that could hinder the grass removal process. This will help you plan your strategy effectively.
Step 2: Selecting the Right Method
Once the area has been assessed, choose the appropriate method for removing the grass. Below are the most common techniques.
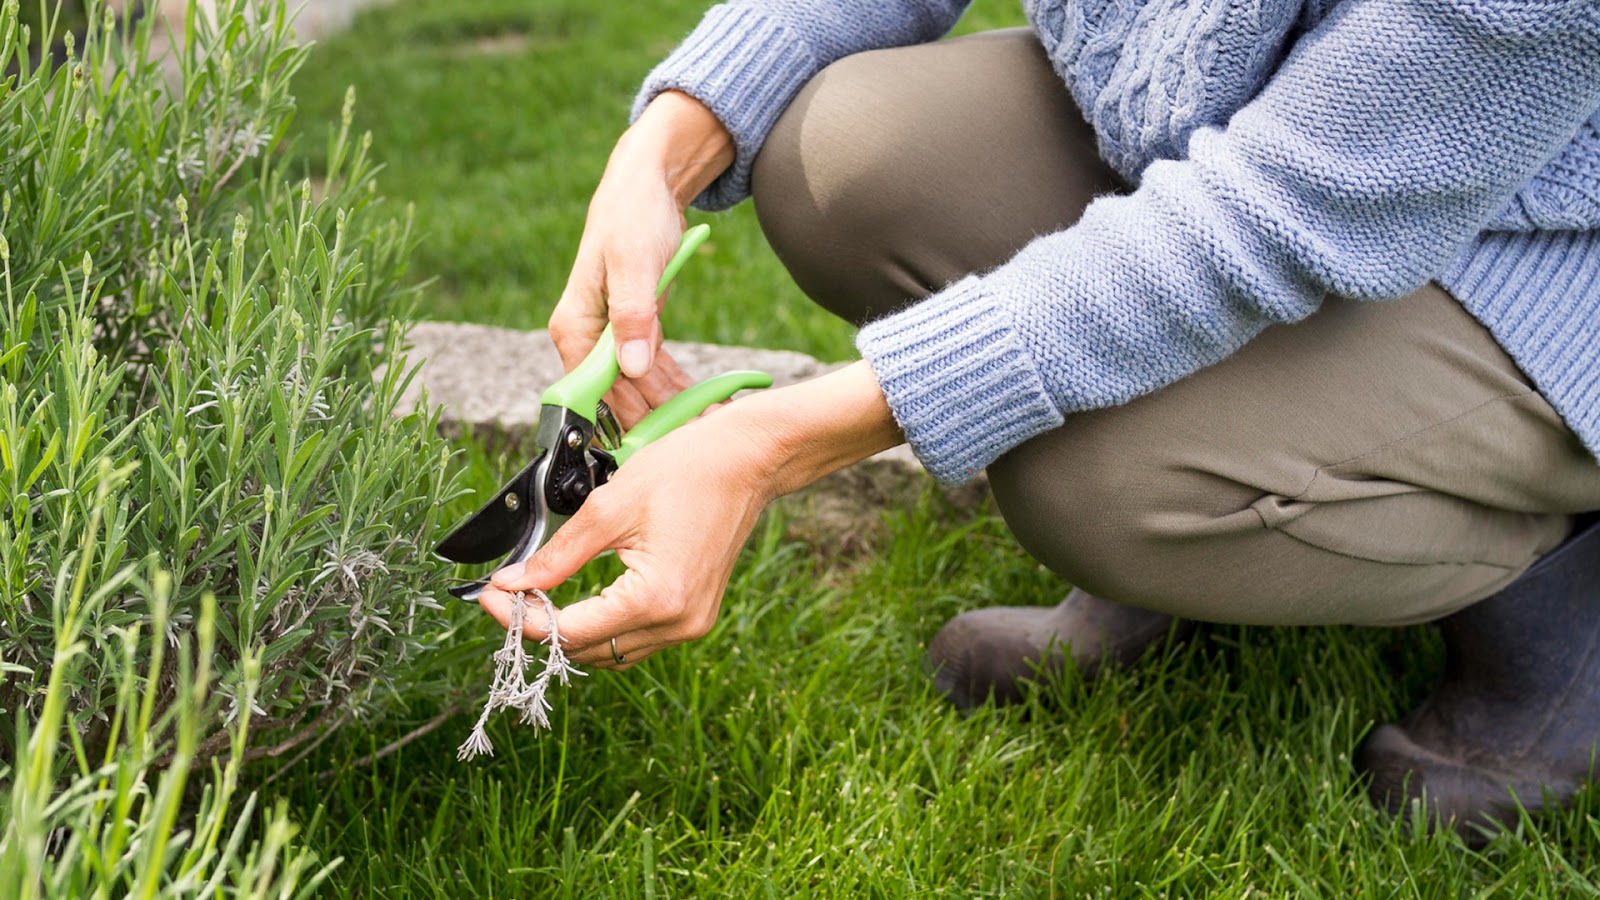
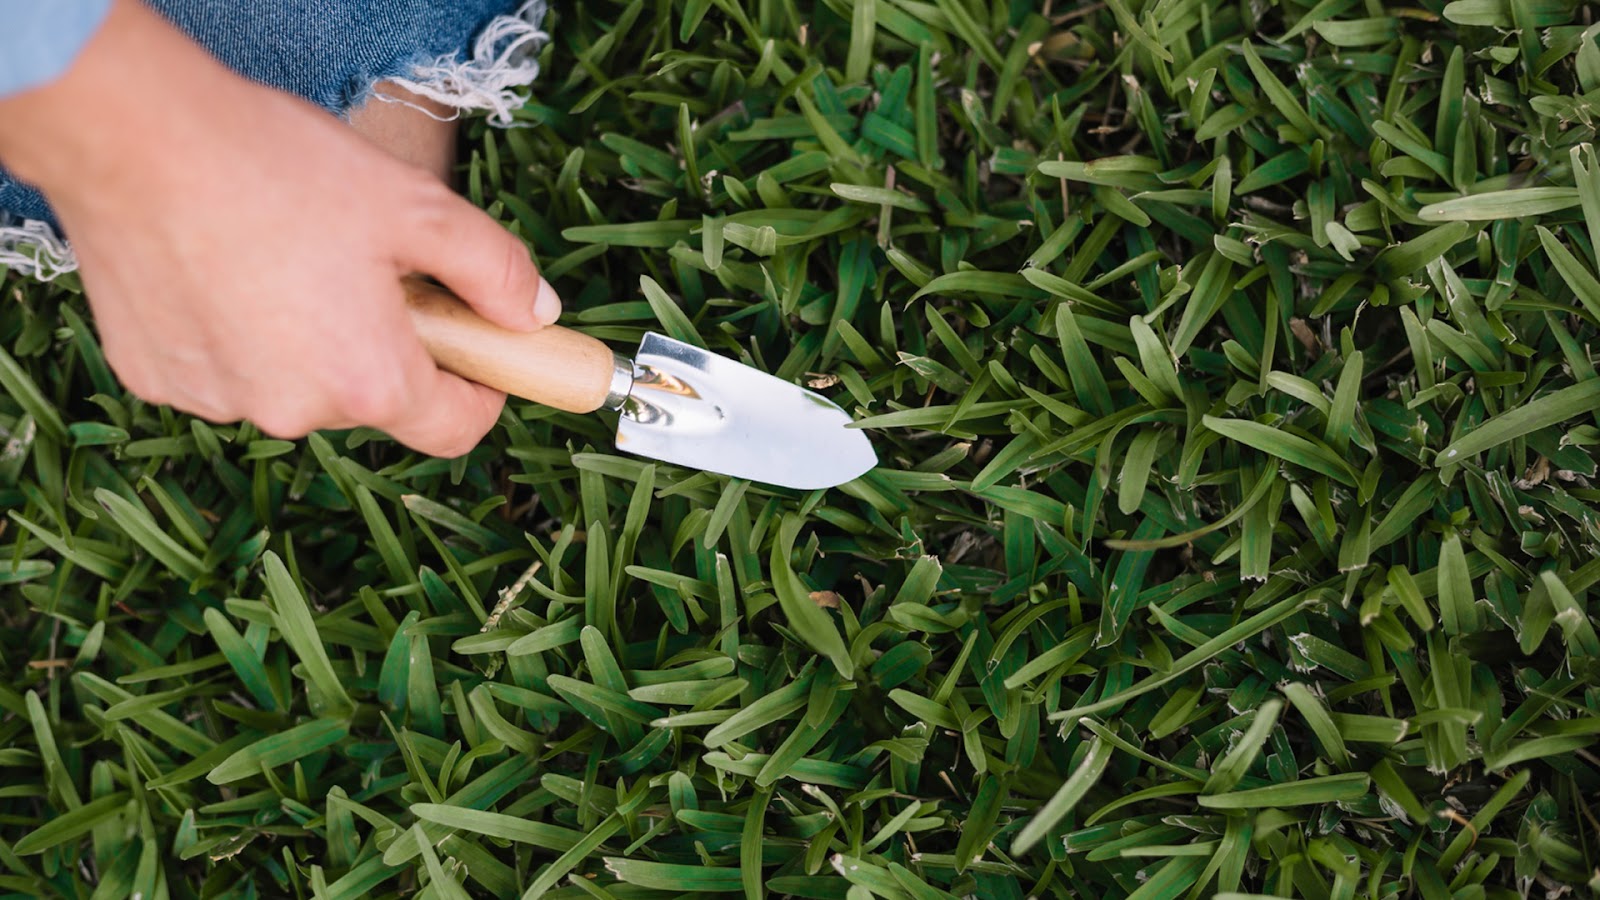
Manual removal with a spade or shovel: For smaller garden beds, a spade or shovel is the simplest and most direct method. Use the shovel to cut through the sod and lift it from the soil.
Using a sod cutter for larger areas: For larger sections, a sod cutter is a more efficient tool. It helps remove large sections of sod with minimal effort, making it ideal for bigger plots.
Solarization method with plastic sheeting: Solarization uses clear plastic to trap the sun's heat, effectively killing the grass over time. This method works well in the warmer months.
Smothering grass with layers of mulch or newspaper: This eco-friendly option involves covering the grass with layers of newspaper and mulch to block sunlight, preventing grass regrowth.
Using herbicides: considerations and precautions. Herbicides can be effective, but should be used with caution. Choose the right herbicide for your grass type and follow application instructions carefully.
Step 3: Preparation Before Removal
Preparation is key to ensuring an effective grass removal process.
Gather necessary tools and materials: Make sure you have all the tools needed for your chosen method, such as a shovel, spade, sod cutter, plastic sheeting, or herbicides.
Mark the boundaries of the garden bed: Use stakes or string to mark the garden bed's boundaries. This helps you stay focused on the right area and prevents over-clearing.
Water the area to ease manual removal: Water the grass thoroughly before removal. Moist soil will make it easier to lift the grass with less effort and help with manual removal.
Step 4: Manual Removal Process
If you choose manual removal, follow these steps for an efficient process.
Using a shovel to cut and lift grass sod: Insert the shovel at a 45-degree angle and lift the sod in manageable sections. Work systematically across the garden to cover the entire area.
Removing the roots to prevent regrowth: Be sure to remove as much of the root system as possible to avoid regrowth. Pull out any visible roots with your hands or a rake.
Transporting and disposing of the removed sod: Once the grass is lifted, transport the sod away. You can either compost it or dispose of it according to local guidelines.
For larger areas, a sod cutter is your best option. Follow these steps to use it efficiently.
Operating the sod cutter efficiently: Set the cutter to the appropriate depth, and slowly guide it across the area to remove the sod in strips.
Cutting grass into manageable strips: As the sod cutter works, it will cut the grass into long strips. Break these down into smaller, manageable sections to make handling easier.
Handling and disposing of sod strips: Carefully roll or fold the sod strips and transport them to a compost or disposal site. Make sure you're following local disposal guidelines.
Step 6: Solarization Technique
Solarization uses the sun's heat to kill grass and weeds. Here's how to do it.
Laying plastic sheeting over grass: Spread clear plastic sheeting across the entire area. Be sure to overlap the edges and cover the bed entirely.
Securing sheeting for effective solarization: Secure the plastic in place with stakes, bricks, or other heavy objects to prevent it from blowing away and ensure maximum contact with the grass.
Leaving the plastic in place for 4-6 weeks: For effective solarization, leave the plastic sheeting on the grass for at least 4-6 weeks. The sun's heat will kill the grass and any weeds beneath the plastic.
Step 7: Smothering Grass
This eco-friendly method uses organic materials to block sunlight and suffocate the grass.
Layering newspaper and organic mulch: Place layers of newspaper or cardboard over the grass and cover it with organic mulch. This will prevent sunlight from reaching the grass, eventually killing it.
Ensuring complete coverage to block sunlight: Overlap the layers of paper and mulch to prevent any gaps where sunlight could reach the grass.
Using tools to enhance the smothering effect: A garden rake or roller can help press down the layers of mulch, ensuring full contact and maximizing the effectiveness of the smothering method.
Step 8: Using Herbicides
Herbicides are effective but should be used carefully and sparingly.
Choosing the right herbicide for grass type: Select a herbicide designed for the type of grass you are removing. Make sure it is safe for your garden's soil and surrounding plants.
Applying herbicide properly: Follow the manufacturer's instructions carefully for applying herbicide. Use a sprayer for even coverage, targeting the grass while avoiding surrounding plants.
Following post-treatment safety measures: Stay off the treated area for the recommended period and follow all safety precautions for pets and children.
Step 9: Preparing the Bed for Planting
Once the grass is removed, it's time to prepare the soil for planting.
Tilling and amending the soil: Till the soil to break up compacted areas, adding compost or other amendments to improve soil fertility.
Leveling the bed and removing debris: Ensure the bed is level and clear of any leftover grass, roots, or debris. This provides a smooth surface for planting.
Following initial planting strategies: Plan your plantings according to space requirements, soil needs, and sunlight. Start with easy-to-grow plants and water them regularly.
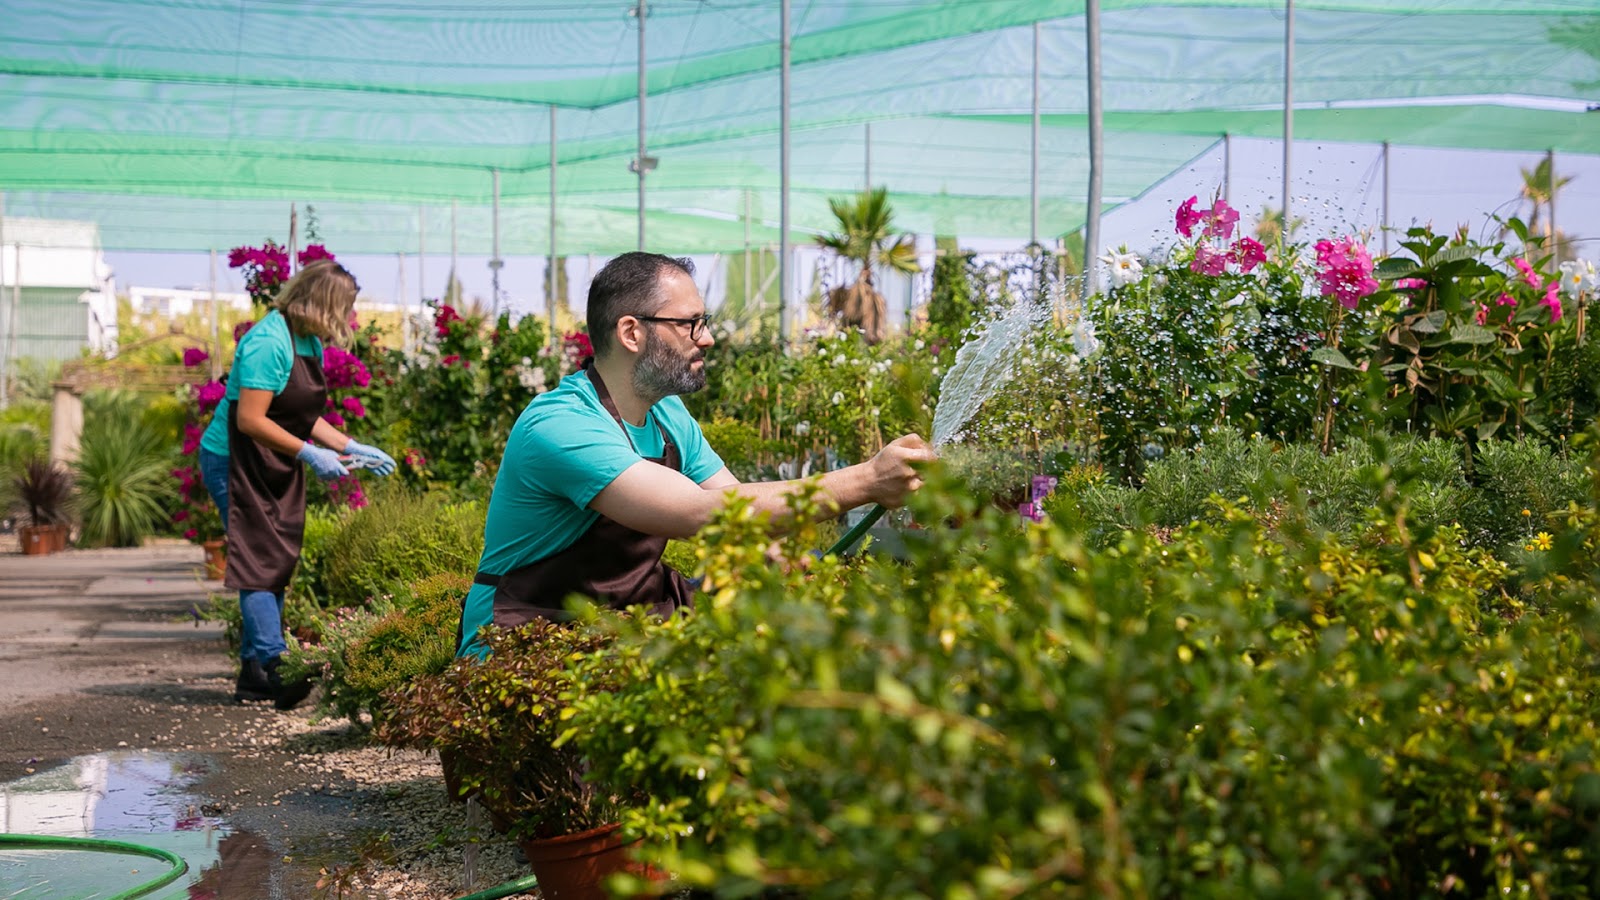
While DIY lawn care can be rewarding, there are times when it's best to call in the professionals. If your lawn is struggling with persistent issues like stubborn weeds, poor soil quality, or drainage problems that you can't address on your own, it's time to seek expert help.
Call us for:
Landscaping: Custom garden design and installation
Lawn Care: Fertilizing, weed control, mowing, and aeration
Snow Removal: Efficient snow plowing and salting services for residential and commercial properties
Seasonal Lawn Maintenance: Spring clean-up, fall leaf removal, and preparation for winter months
Consultation and Planning: Free on-site consultations to assess lawn and garden needs
At Percy's Lawn Care, we care for more than just your landscape service, we're a family dedicated to transforming your outdoor spaces into lush, thriving environments.
The most important thing is to ensure the soil is properly prepared for planting, no matter what you choose, no matter what manual removal, solarization, or smothering.
Following these steps will help you create a healthy, grass-free garden bed. Contact us today to get your dream yard.
FAQs
Q. Why is it important to remove grass before planting a garden? A. Removing grass eliminates competition for vital resources like water, sunlight, and nutrients. This creates a healthier environment for your plants to grow, ensuring they have the best chance to thrive without being overshadowed by weeds or grass.
Q. What is the best method for small garden beds? A. For smaller garden beds, manual removal with a spade or shovel works best. It provides control, efficiently removing grass and roots without needing specialized tools, making it a practical and cost-effective option for compact spaces.
Q. Can I use herbicides to clear grass? A. Yes, herbicides can be effective, particularly for persistent grass types. Be sure to follow the manufacturer's instructions carefully to prevent harm to surrounding plants and ensure the safety of pets and children when using them.
Q. How long does solarization take to kill grass? A. Solarization typically takes around 4-6 weeks. This method uses clear plastic sheeting to trap the sun's heat, gradually suffocating and killing the grass beneath, making it a natural and chemical-free way to clear your garden bed.
Q. Can I plant immediately after removing the grass? A. After removing the grass, it's important to prepare the soil by tilling and adding necessary amendments. Once the bed is leveled and free of debris, you can plant right away, giving your plants a solid start in fresh soil.